Introduction
Taking screenshots on your Acer tablet is an effortless way to capture and share information. Whether you need to save a snippet of a webpage, a message thread, or a high score from a game, Acer tablets offer several ways to take screenshots easily. This guide walks you through various methods – from using physical buttons to leveraging Google Assistant, third-party apps, and more. Equipped with these techniques, you’ll never miss capturing anything important on your Acer tablet.
Using Physical Buttons
One of the most straightforward methods to take a screenshot on an Acer tablet involves using physical buttons. Here’s how you can do it:
- Locate the Power and Volume Down buttons: On most Acer tablets, the Power button is usually on the side, while the Volume buttons are on the opposite side.
- Press and hold the buttons simultaneously: Press and hold the Power and Volume Down buttons at the same time for about 2 seconds.
- Wait for the screenshot confirmation: Once the screenshot is taken, you’ll see an animation on the screen or hear a shutter sound, indicating that the screenshot has been successfully captured.
- Check your notification bar: A notification will appear indicating that the screenshot has been saved. You can tap this notification to view the screenshot immediately.
However, this method might not work if button functionality issues arise, making alternative methods necessary.
Using the Notification Bar and Quick Settings
For a more seamless and less finger-tangling method, you can use the Notification Bar and Quick Settings to take screenshots. Here’s how:
- Open your tablet’s screen: Navigate to what you want to capture on your Acer tablet.
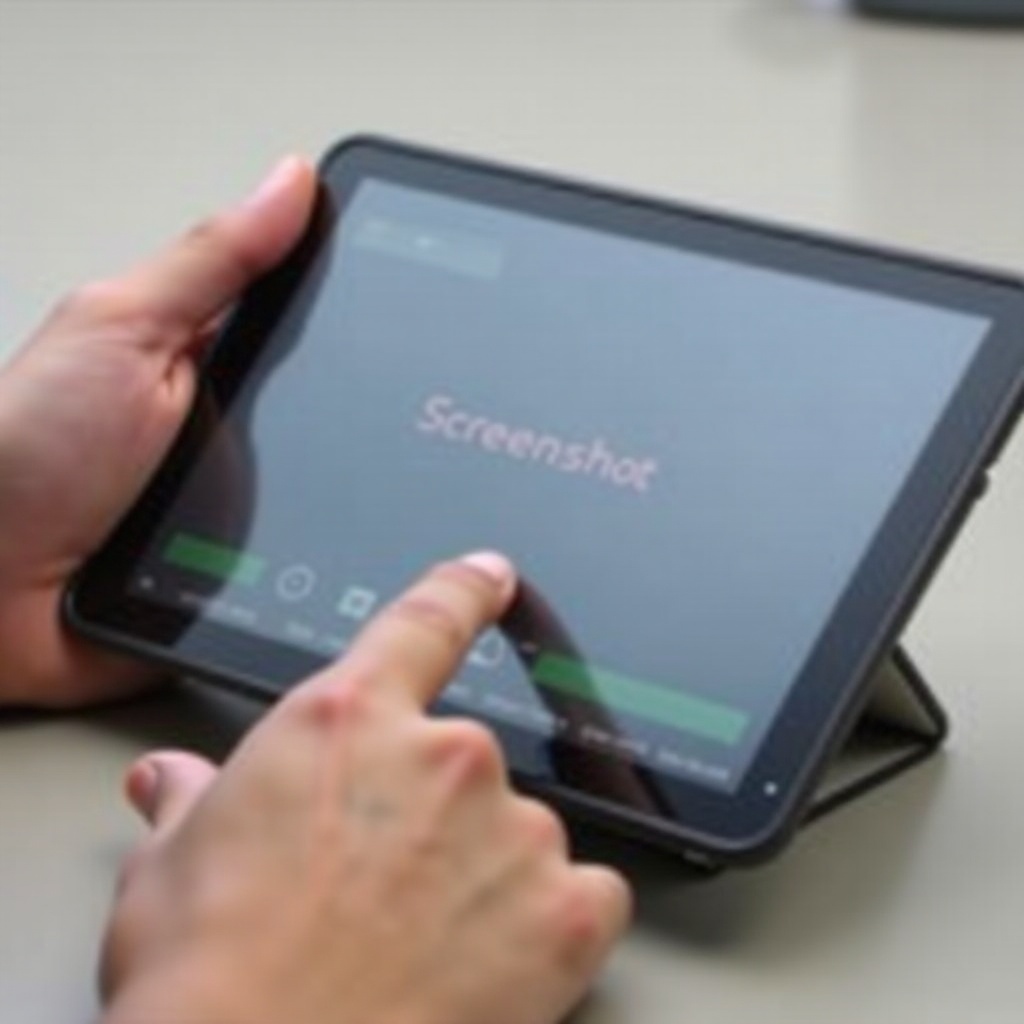
- Access the Notification Bar: Swipe down from the top of the screen to open the Notification Bar.
- Find the ‘Screenshot’ button: In the Quick Settings menu, look for the ‘Screenshot’ option. This might be directly visible or you might need to swipe to access more options.
- Tap on ‘Screenshot’: Once you tap, the screenshot will be taken automatically, capturing the entire visible screen.
This method can be particularly helpful if you find it cumbersome to press the physical buttons simultaneously.
Using Google Assistant for Screenshots
If the Notification Bar method doesn’t suit your needs, you can also use Google Assistant to capture screenshots. Follow these steps:
- Activate Google Assistant: You can do this by either saying ‘Hey Google’ or holding the Home button on your Acer tablet.
- Command to take a screenshot: Once Google Assistant is activated, simply say, ‘Take a screenshot.
- Confirm and save: Google Assistant will capture your screen and save it to your gallery.
Using Google Assistant not only makes it easier but also adds a hands-free option for taking screenshots on your Acer tablet.
Third-Party Apps for Screenshot
If you’re looking for additional features like editing options immediately after taking a screenshot, third-party apps might be the right solution. Here are a few popular choices:
- Screenshot Easy: This app offers multiple ways to take screenshots including shaking the device and overlay buttons.
- Screenshot Touch: Besides capturing screens, it provides instant editing features, such as cropping and drawing.
-
Screen Master: Known for its utility, this app comes with a floating button for taking screenshots conveniently during any activity on your tablet.
-
Download from the App Store: Start by downloading the chosen app from the Google Play Store.
- Install and configure: Follow the in-app instructions to set up your preferred screenshot methods.
- Capture and Edit: Utilize the app’s feature set to capture, edit, and manage your screenshots.
These apps offer advanced functionality over the built-in options, giving you more control over how your screenshots are taken and used.
Accessing and Managing Screenshots
Once you have taken a screenshot, knowing where to find and how to manage it is crucial. To access and manage your screenshots effectively:
- Open the Gallery: Most screenshots are saved to the default ‘Screenshots’ album in your device’s Gallery app.
- Locate your screenshot: Navigate through the albums to find the ‘Screenshots’ folder. Within this folder, you will find all the screenshots in chronological order.
- Manage settings: You can move your screenshots to different folders, share them with other apps, or delete them if needed.
Effective management ensures that your screenshots do not clutter your Gallery, making important captures easily accessible.
Editing Your Screenshots
After capturing a screenshot, you might want to edit it for clarity or emphasis. Here’s how to go about it:
- Open the screenshot: Tap on the screenshot in the Gallery to open it.
- Use the editing tools: Most tablets come with built-in editing tools. Look for options like crop, add text, draw, or adjust colors.
- Apply and save changes: Once editing is done, save the screenshot. The edited screenshot will be saved as a new image, preserving the original.
Editing not only makes your screenshots more useful but also allows you to highlight specific details effectively.
Sharing Your Screenshots
Sharing screenshots is easy on an Acer tablet. Follow these steps:
- Select the screenshot: Open the Gallery and choose the screenshot you want to share.
- Tap the Share icon: Most Gallery apps have a Share icon or an option that looks like a connected triangle.
- Choose the sharing method: You can share via email, social media, or messaging apps. Select the desired method and follow the on-screen prompts.
Sharing ensures that important information captured in screenshots can be disseminated quickly and efficiently.
Troubleshooting Common Issues
Sometimes, issues may arise when taking screenshots. Here are common problems and their solutions:
- Buttons don’t work: Verify the button functionality by testing other actions, like adjusting volume or turning the tablet on/off. If the buttons are unresponsive, consider using the Notification Bar method or third-party apps.
- Screenshot notification missing: Restart your device if you don’t see a confirmation notification after taking a screenshot. Sometimes, this can reset any temporary glitches.
- Screenshots not saving: Ensure your device has enough storage space. Free up storage by deleting unwanted files to make room for new screenshots.
Conclusion
Taking screenshots on an Acer tablet is an intuitive process with multiple efficient methods available. Whether you prefer physical buttons, the Notification Bar, Google Assistant, or third-party apps, each method is designed to be user-friendly and convenient. Managing, editing, and sharing your screenshots also becomes straightforward with these tools. Empower yourself with these techniques to enhance your overall tablet experience.
Frequently Asked Questions
What should I do if the screenshot buttons don’t work?
If the physical buttons don’t work, try using the Notification Bar, Google Assistant, or third-party screenshot apps. If the problem persists, check for any hardware issues.
How can I take a screenshot of a long webpage or document?
To capture a long webpage, use third-party apps like Stitch & Share, which allow you to take multiple screenshots and merge them into one continuous image.
Where are my screenshots saved on an Acer tablet?
Screenshots are usually saved in the ‘Screenshots’ folder within the Gallery app. You can locate them by opening the Gallery and navigating to the appropriate album.