Introduction
A Chromebook can be a powerful tool for students, offering a plethora of apps to enhance learning and productivity. Knowing how to efficiently access these apps can make a substantial difference in your daily routine. One of the essential skills for managing your device is learning how to add and organize apps on your home screen. This guide will walk you through the entire process, ensuring you get the most out of your school Chromebook.
From understanding your school Chromebook’s interface to installing and organizing apps, we’ll cover everything you need to know. By the end of this comprehensive guide, you’ll have your favorite and most-used apps right at your fingertips. Let’s dive in!
Understanding Your School Chromebook
Before diving into the specifics of adding apps to your home screen, it’s crucial to understand the basics of your school Chromebook. Unlike traditional laptops, Chromebooks operate primarily through Google’s Chrome OS, which is lightweight and designed for online use. They are particularly popular in educational environments due to their simplicity and the integration of Google Workspace tools.
Most school Chromebooks come with restrictions set by the administration to ensure a secure and focused learning environment. These restrictions can sometimes prevent the installation of unauthorized apps. Understanding these limitations will help you navigate your device more effectively and ensure compliance with your school’s policies.
Preparing Your Chromebook
Before you can start adding apps to your home screen, some preparatory steps are necessary. Firstly, make sure your Chromebook is fully updated. Regular updates not only improve performance but also ensure you have the latest security features.
- Check for Updates:
- Click on the time located in the bottom-right corner.
- Select ‘Settings’ and then ‘About Chrome OS.
-
Click ‘Check for updates.’ If an update is available, your Chromebook will download and install it automatically.
-
Ensure Google Play Store Access:
-
Your school administrator must enable the Google Play Store. Confirm if this feature is accessible; if not, you may need to contact your IT department.
-
Log in with Your School Account:
- Ensure you’re using your school-provided Google account, as this is a requirement for most school Chromebooks.
With these steps completed, you’re now ready to install apps and begin the process of adding them to your home screen.

Installing Apps on Your School Chromebook
Installing apps on your Chromebook is relatively straightforward but may vary slightly depending on whether the Play Store is enabled.
- Using the Google Play Store:
- Click on the Launcher (the circle icon in the lower-left corner).
- Open the Google Play Store.
- Browse or search for the desired app.
-
Select ‘Install’ to add the app to your Chromebook.
-
Downloading from the Chrome Web Store:
- Open the Chrome browser.
- Navigate to the Chrome Web Store.
- Search for the app or extension.
-
Click ‘Add to Chrome’ and follow the prompts.
-
Managed Apps:
- Some apps may already be managed and installed by your school’s IT department. These can be found in the Launcher or a specific folder created by the school.
Once installed, the apps will generally appear in the Launcher.
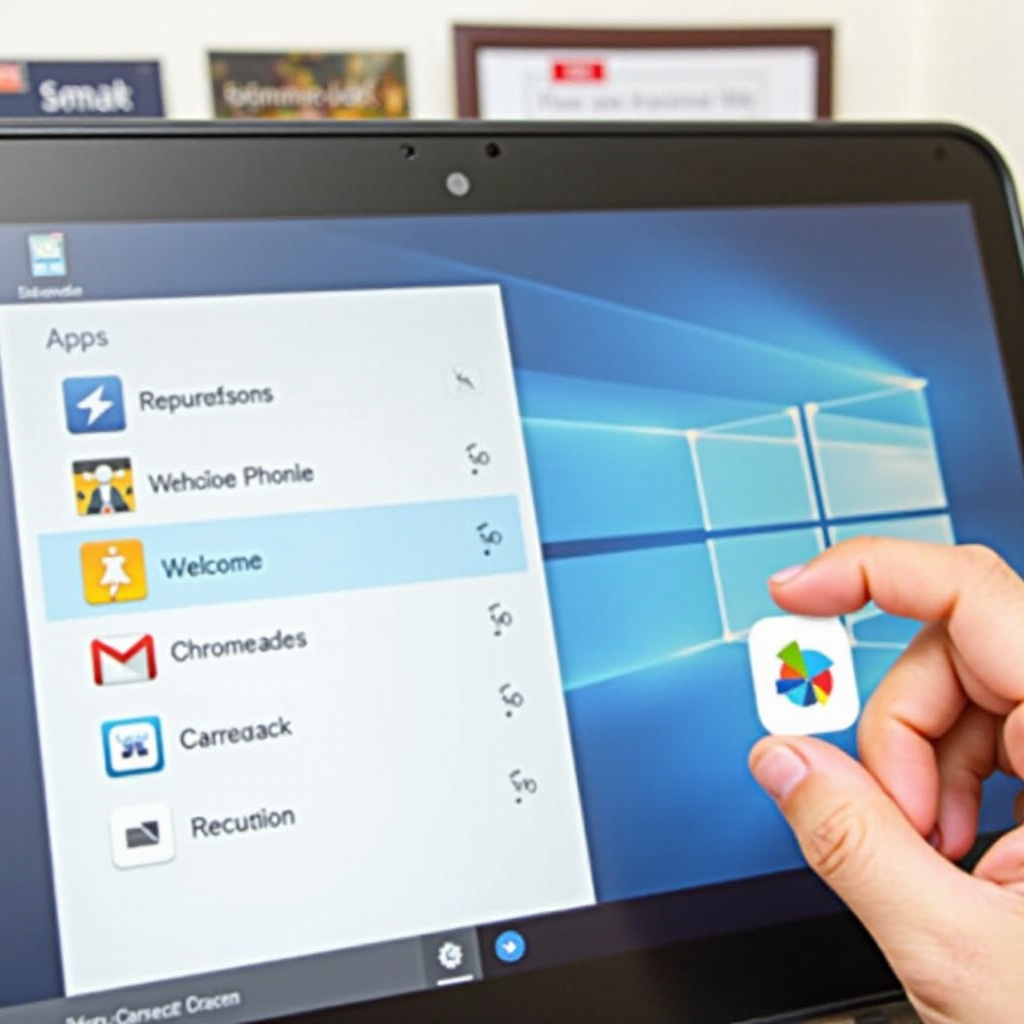
Adding Apps to the Home Screen
Now that you have your apps installed, it’s time to add them to the home screen for easy access. This process simplifies navigating to your most-used apps and substantially increases efficiency.
- Access the Launcher:
-
Click on the Launcher in the bottom-left corner of your screen.
-
Locate Your App:
-
Scroll through the list to find the app you want to add.
-
Add to Shelf:
- Right-click on the app icon.
-
Select ‘Pin to shelf.’ This will pin the app to the Chrome OS shelf at the bottom of the screen.
-
Adding Apps to Home Screen:
-
For simplicity, you might want to keep your main home screen organized. You can drag and drop the apps from your shelf to your home screen using the touchpad.
-
Create Shortcuts:
- Some apps allow you to create shortcuts. Right-click on the app and select ‘Create a shortcut,’ then place it on your home screen.
Organizing apps on your home screen helps in quickly launching frequently used apps, saving valuable time during busy school days.
Organizing and Customizing Your Home Screen
With your apps on the home screen, organizing them can further enhance your Chromebook experience.
- Arrange Apps:
- Click and hold the app icons to rearrange them in your preferred order.
-
Group similar apps together for better organization.
-
Create Folders:
- Drag one app icon over another to create a folder.
-
Name the folder for better identification.
-
Use Wallpapers and Themes:
- Customize your desktop with different wallpapers by right-clicking on the desktop and selecting ‘Set wallpaper.
- Use themes available in the Chrome Web Store to personalize the look and feel of your Chromebook.
These organizational steps will ensure that your home screen is not only functional but also visually pleasing, making it more enjoyable to use.
Troubleshooting Common Issues
Sometimes, even after following the steps meticulously, you might encounter issues. Here’s how to tackle some common problems:
- App Not Appearing on Shelf:
- Restart your Chromebook to refresh the system.
-
Check for updates as outdated software may cause glitches.
-
Unable to Install Certain Apps:
- Verify whether the app is permitted by your school’s administration.
-
Contact your IT department for permissions or alternative solutions.
-
Missing Google Play Store:
- Make sure your Chromebook is updated.
- Confirm that your device supports the Play Store through the settings.
By following these troubleshooting tips, you can overcome common obstacles and ensure your Chromebook performs optimally.
Conclusion
Mastering how to add apps to the home screen on your school Chromebook can significantly improve your efficiency and productivity. Familiarize yourself with your device, ensure it is set up correctly, and follow the outlined steps to install, add, and organize apps on your home screen. Keeping your device organized will aid in maintaining a smooth workflow and make navigating your Chromebook a breeze.
Frequently Asked Questions
How can I move multiple apps to the home screen at once?
Currently, you have to move them individually by dragging each app into place as batch moving options are not supported.
Why can’t I find the Google Play Store on my school Chromebook?
Your school administrator may have disabled it. Check with your IT department for more details.
Do I need administrative access to add apps to my Chromebook?
In most cases, yes. Your school’s IT department manages administrative permissions, so you may need to request access or find alternative solutions through them.