Introduction
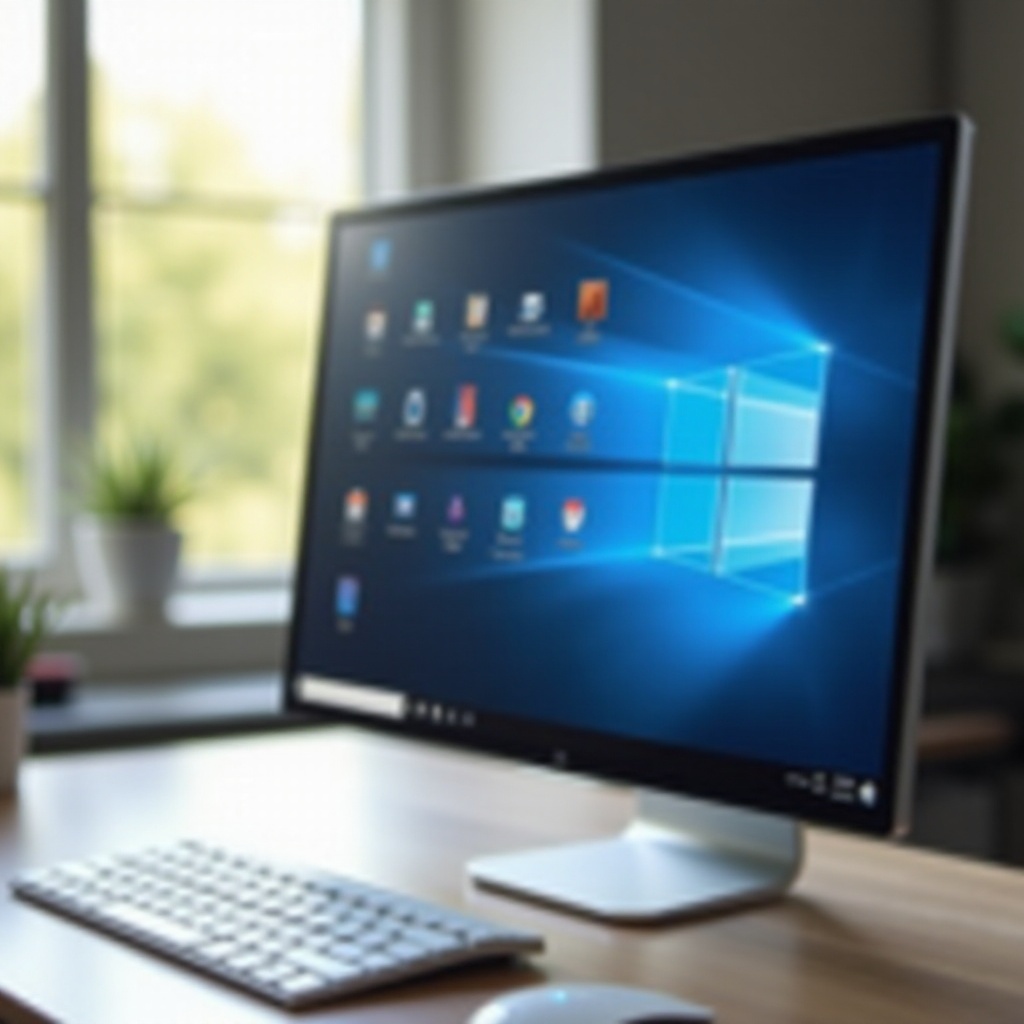
Customizing your desktop experience is essential for both aesthetic and practical reasons. One common customization many Windows 11 users seek is resizing desktop icons. Whether you prefer a minimalist appearance or need more space for additional shortcuts, knowing how to resize icons can greatly enhance your experience.
In this guide, we’ll explore various methods to resize desktop icons in Windows 11. From quick methods to more advanced techniques, we’ll cover everything you need to know to make your desktop icons just the right size. Let’s dive in and start customizing!
Why You Might Want to Resize Desktop Icons
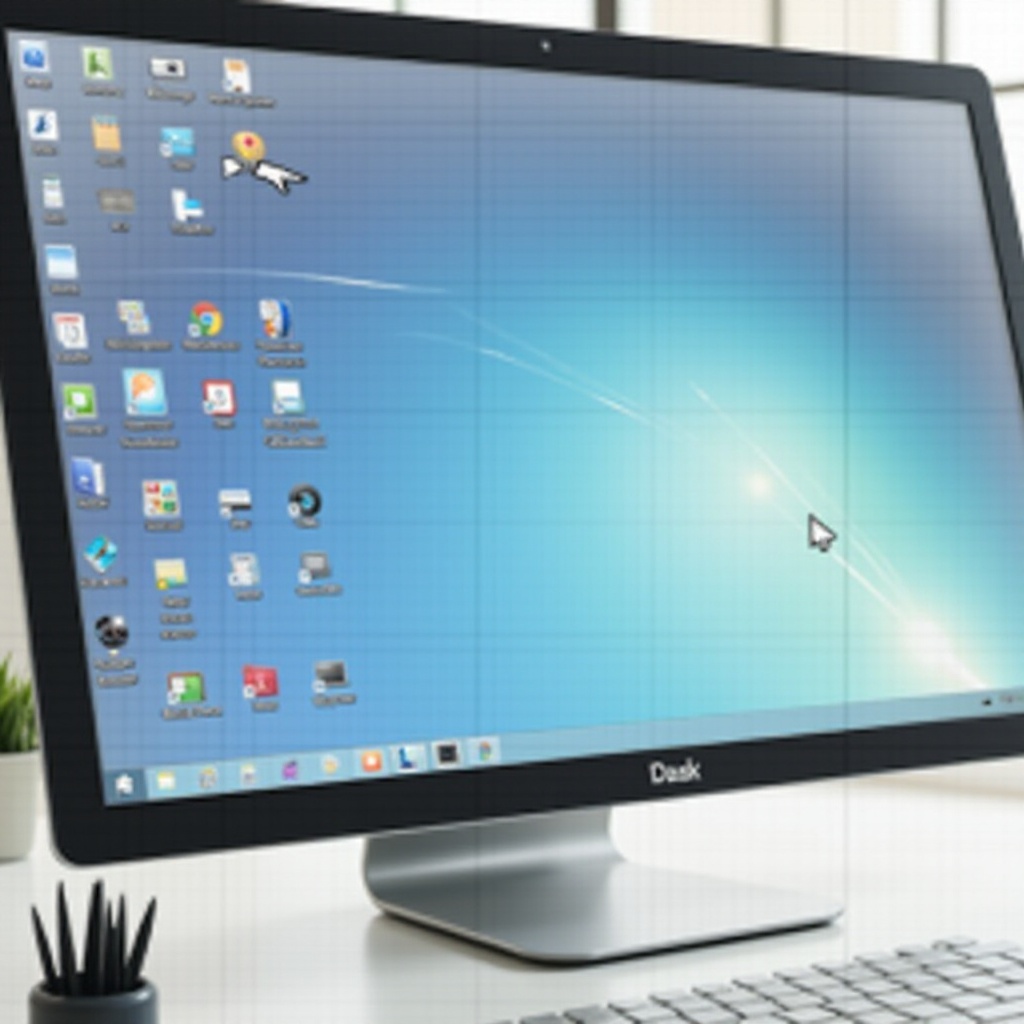
There are several reasons you might want to resize your desktop icons in Windows 11. A common reason is the need for more screen real estate. Larger icons can take up a significant amount of space and make your desktop look cluttered. By making them smaller, you can fit more icons on your screen and reduce visual chaos.
Another reason is accessibility. Although smaller icons save space, sometimes larger icons are easier to see and click, particularly for users with vision problems. Adjusting the icon size ensures that everyone can use their computer comfortably and efficiently.
Personalization is another motivation. Everyone has their preferences for how their desktop should look. Some users may prefer a sleek, minimalist appearance with smaller icons, while others might want larger ones for a more dramatic effect.
Quick Methods to Resize Desktop Icons
Using the Mouse Scroll Wheel
The quickest way to resize desktop icons in Windows 11 involves using the mouse scroll wheel. This method is extremely straightforward and does not require delving into any settings menus.
- Navigate to your desktop.
- Hold down the ‘Ctrl’ key on your keyboard.
- Scroll the mouse wheel up or down to increase or decrease the icon size.
This method lets you adjust the icons’ size in real-time, allowing you to find the perfect size without navigating any menus.
Right-Click Menu Method
Another simple way to resize your desktop icons is through the right-click context menu. This method provides preset size options and can be done in a few quick steps.
- Right-click on an empty space on your desktop.
- Hover over the ‘View’ option in the context menu.
- Select your desired icon size—large, medium, or small.
This method offers less granular control but is perfect for users who prefer a straightforward approach.
Advanced Methods to Resize Desktop Icons
For those who want more customization options or need to troubleshoot icon size issues, advanced methods are available.
Using the Settings App
The Settings app in Windows 11 offers a more detailed way to customize your desktop icons. This method is slightly more involved but gives you additional customization options.
- Press ‘Win + I’ to open the Settings app.
- Navigate to ‘Personalization’ > ‘Themes.
- Click on ‘Desktop icon settings.
- In the Desktop Icon Settings window, click on the ‘Change Icon’ button.
- Select the icon size you prefer from the available options, or upload a custom icon if desired.
- Click ‘Apply’ and ‘OK’ to save your changes.
This method allows you to customize not just the size but also the appearance of your desktop icons.
Using the Registry Editor (for Advanced Users)
For users comfortable with making system changes, the Registry Editor offers even more control over icon sizes. However, this method carries some risk, so proceed with caution.
- Press ‘Win + R’ to open the Run dialog.
- Type ‘regedit’ and press Enter to open the Registry Editor.
- Navigate to the following key:
HKEY_CURRENT_USER\Software\Microsoft\Windows\Shell\Bags\1\Desktop - Find the ‘IconSize’ entry. If it doesn’t exist, right-click the right pane and select ‘New’ > ‘DWORD (32-bit) Value.’ Name it ‘IconSize.
- Double-click the ‘IconSize’ entry and set its value between 20 and 256, representing the icon size in pixels.
- Click ‘OK’ and close the Registry Editor.
- Restart your computer to apply the changes.
While this method offers precise control, it’s not recommended for beginners. Always back up your registry before making any changes.
Troubleshooting and Tips
Even with the best methods, you may encounter issues when resizing desktop icons. Here are some common problems and how to solve them.
Common Issues and How to Solve Them
- Icons not resizing: If your icons aren’t changing size, try restarting your computer or refreshing your desktop.
- Icons disappear: Occasionally, icons may vanish. Right-click on the desktop, go to ‘View,’ and ensure ‘Show desktop icons’ is checked.
Additional Customization Tips for Desktop Icons
- Spacing: Use the Registry Editor to adjust the spacing between icons for better organization.
- Alignment: Auto-arrange your icons by right-clicking your desktop and selecting ‘View’ > ‘Auto arrange icons.
- Icon theme: Customize your icons further with third-party icon packs available online.
Conclusion
Resizing desktop icons in Windows 11 can improve your experience by making your desktop more organized, accessible, and visually pleasing. Whether you prefer quick and straightforward methods or more advanced customization options, Windows 11 offers a variety of ways to suit your preferences. Experiment with these methods to find the perfect desktop setup.
FAQs
Frequently Asked Questions
Can I make the desktop icons larger in Windows 11?
Certainly! Just follow the same steps mentioned above and select a larger icon size instead.
Will resizing icons affect their functionality?
Resizing icons only changes their appearance; it does not affect their functionality.
How do I revert back to the default icon size?
Simply follow the same steps and select the default or medium option in the size settings.